EN
EN
Garden Office Pod: How to Set Up a Movable Container Office in Your Backyard
Picture this: you're midway through an important client call when the kids burst in, the dog barks, and the kitchen timer goes off all at once. Now picture a garden office pod just steps from your back door — properly insulated, fully wired, and completely separated from the household. That shift from constant interruption to consistent focus is exactly why movable container-based garden office pods have become one of the most practical workspace investments for remote workers, home business owners, and residential developers alike.
As someone who has evaluated container pod installations across residential and commercial backyard settings, I have watched the same pattern play out repeatedly: buyers who plan their setup in clear phases move in smoothly. Those who start with the structure and figure out utilities, access, and permits afterward frequently encounter avoidable delays. This guide walks you through the full process — from site assessment to your first productive workday.
Step 1: Assess Your Site and Delivery Access
Before requesting a quote on any garden office pod, ask yourself one question first: can a delivery truck — or more importantly, a crane or shed mule — actually reach the placement spot in your backyard?
Access clearance is the practical constraint that catches most buyers off guard. A 20ft or 40ft container pod requires sufficient path width (typically at least 3m) and overhead clearance for positioning equipment. Overhead power lines, low tree branches, or a narrow side gate can each make standard delivery impossible, requiring special equipment or, in some cases, a redesign of the intended location.
Ground preparation is the next consideration. Container-based garden office pods need a level, load-bearing surface — poured concrete pad, compacted crushed stone, or prefabricated ground screw foundations all work depending on soil conditions and local requirements. If your garden has visible slope, budget for levelling work as a separate cost item before the pod arrives.
Step 2: Choose a Pod Configuration That Matches How You Work
Before placing an order for a garden office pod, it is worth shifting away from default assumptions about what is available. Many buyers assume their only choices are standard 20ft or 40ft containers. The more productive question is: which configuration genuinely fits how I will work in this space every day?
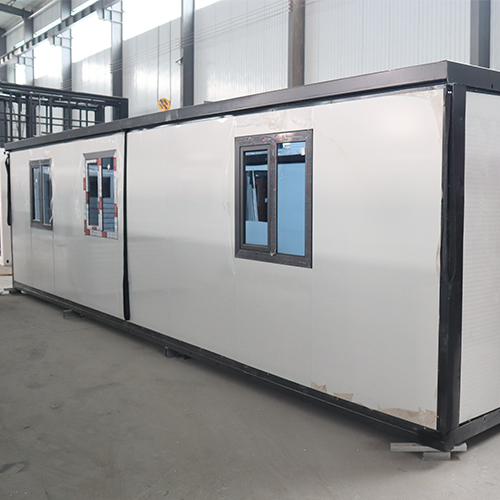
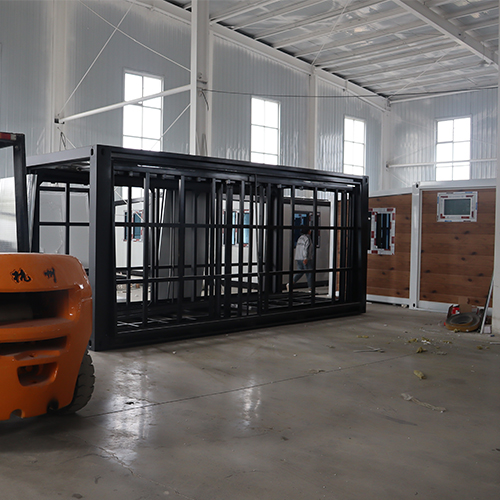
Folding or expandable container pods can be delivered in compact form and expanded on site — useful when your garden access is restricted. Fixed modular pod designs, like a 40ft steel-and-timber format, provide more dedicated interior volume with clear separation between desk area, storage, and a small meeting corner.
For home-based professionals, ZYC's 40ft Portable Prefab Modular Pod Office Cabin combines a steel structure with wooden cladding to create a garden office pod with a clean, modern exterior. For sites where ground footprint matters or a phased rollout makes sense, the X-shaped Folding Modular Container Cabin offers flexibility with the option to relocate the pod if your use case changes. Both are portable enough to be repositioned — a distinct advantage over a fixed garden room structure that cannot be relocated once installed.
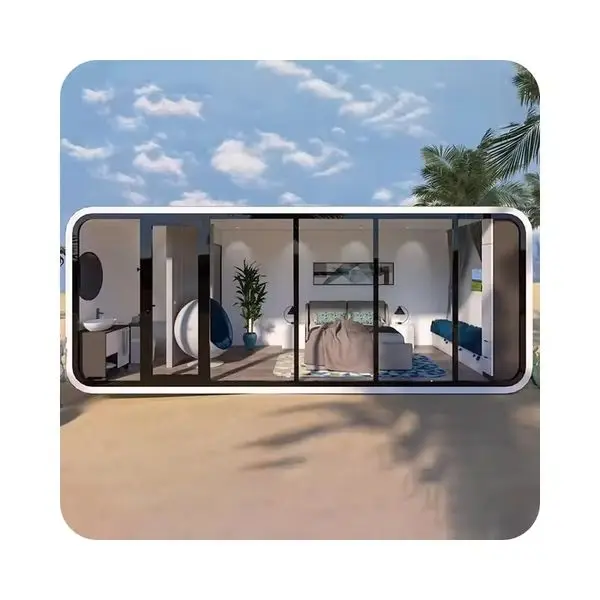
If you have stayed in standalone retreat spaces — from frio cabins along Texas rivers to apple mountain cabins in woodland settings: you already understand the core appeal: a self-contained, purposefully designed pod that separates where you work or rest from where you live. A garden office pod brings that same principle to your own backyard at a much shorter commute.
Step 3: Plan Power, Internet, and Climate Control Early
Have you considered what happens when your video call drops mid-sentence because the pod's WiFi barely reaches the router 20 meters away? Or when a steel-walled garden office pod that performed well in spring becomes unbearable in July?
Electrical hookup for a garden office pod typically requires a dedicated circuit from your home's consumer unit. Plan for a minimum of 30–40 amps to support a full workstation, task lighting, and climate control simultaneously. If the pod will be used daily year-round, treat this as a fixed installation — hire a licensed electrician, run armoured cable underground in conduit, and get the work completed before the pod arrives.
A point many buyers overlook: a steel container is not naturally energy-efficient. Without adequate insulation — typically 50–100mm mineral wool or PIR board lining on walls, floor, and ceiling — the steel shell conducts heat in summer and cold in winter, which can significantly increase your climate control costs. Proper insulation is not an optional upgrade on a garden office pod; it is a foundation requirement if you intend to use the space year-round.
For internet, a buried Cat6 ethernet run in underground conduit from your home to the pod delivers far more reliable connectivity than any WiFi extender, especially for regular video calls or large file transfers. If your plot is over 15 meters deep, budget for the trenching work alongside the electrical run.
Step 4: Check Permits Before Committing to a Design
Permit requirements for a garden office pod vary considerably by location, and discovering them after placing an order is one of the most common avoidable delays. In many jurisdictions, structures below a certain floor area — often in the 10–15 sq m range — are exempt from full building permits. But any permanent connection to electrical or plumbing utilities typically triggers a separate permit process, even for smaller structures.
A lesson European and North American buyers regularly encounter: local building energy standards, minimum setback distances from property boundaries, and council or HOA approvals can each add weeks to a timeline if they surface after manufacturing has started. Checking with your local planning authority before finalizing any garden office pod design is the practical first step — not the last. If the pod is classified as movable and sits on a non-permanent base, requirements are generally lighter, but still worth confirming in writing.
Step 5: Fit Out the Interior as a Real Office
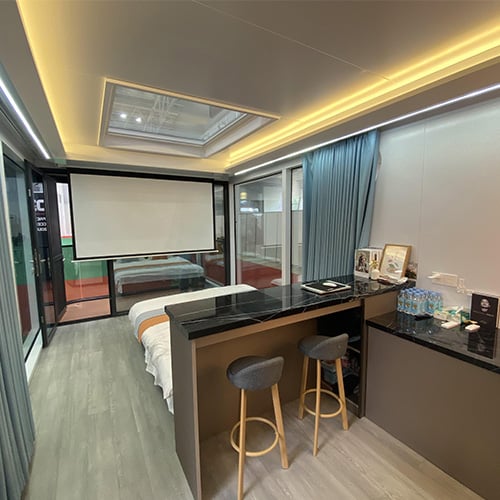
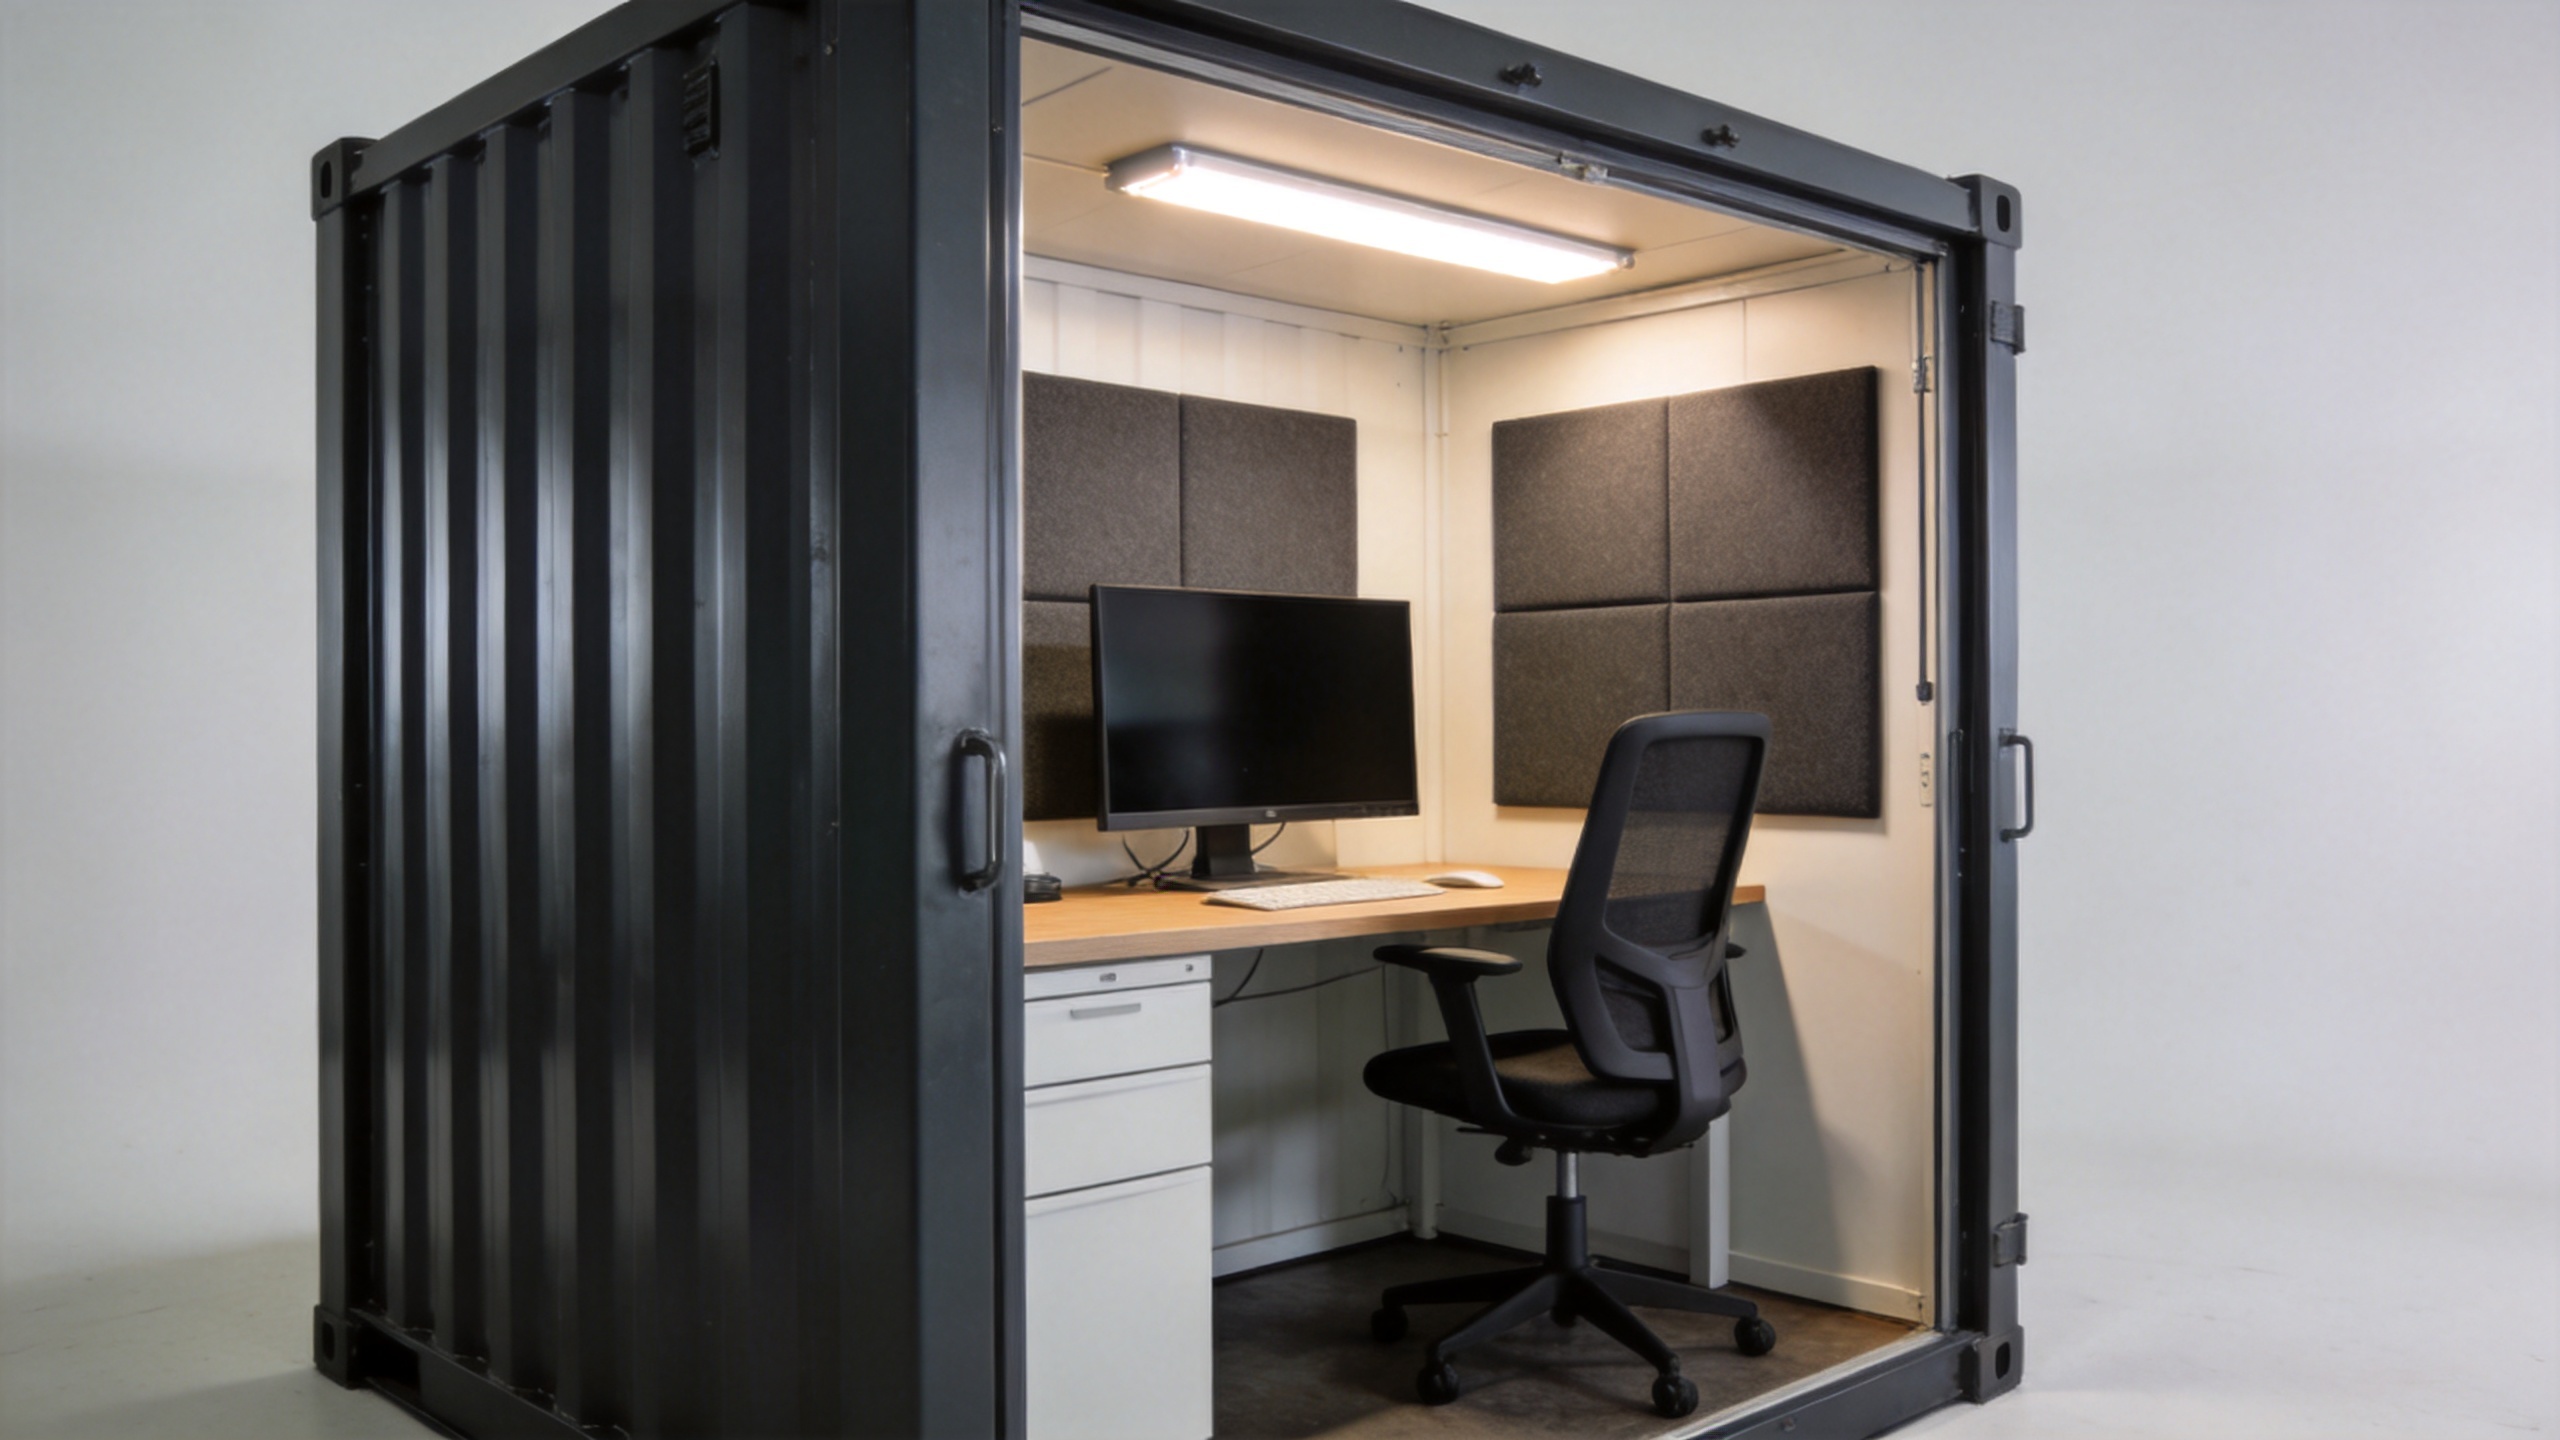
The interior of a garden office pod deserves the same attention as any professional workspace. Inadequate lighting, poor acoustics, and furniture that does not support sustained work will erode the productivity gain the pod was purchased to create.
For a typical 15–25 sq m pod, prioritize: a fixed desk with a monitor arm to reclaim surface area; task lighting at the desk plus ambient ceiling lighting to prevent eye strain; acoustic panels on at least two walls if video calls or focused writing are part of your daily routine; and a dedicated storage solution (wall-mounted shelving or a narrow locker unit) that keeps the workspace visually clear.
Sequence matters: route all cable management and mount any wall panels before positioning the main furniture. It is far easier to drill into fresh walls before the desk is in the way.
From Inquiry to Move-In: What the Timeline Actually Looks Like
A realistic phase-by-phase timeline for a container garden office pod setup:
- Site assessment and configuration confirmation: 1–2 weeks
- Manufacturing or procurement: 4–8 weeks (varies with customization level)
- International shipping and customs clearance: 3–6 weeks (domestic orders faster)
- Foundation preparation and pod installation: 1–2 weeks
- Utilities connection and interior fit-out: 1–2 weeks
The three variables that most affect total timeline are: the degree of customization (standard configurations ship faster), your local permit approval pace, and whether your electrician is booked to arrive when the pod does. Aligning these three in advance reduces the risk of the pod sitting idle on a completed foundation while waiting for an available tradesperson.
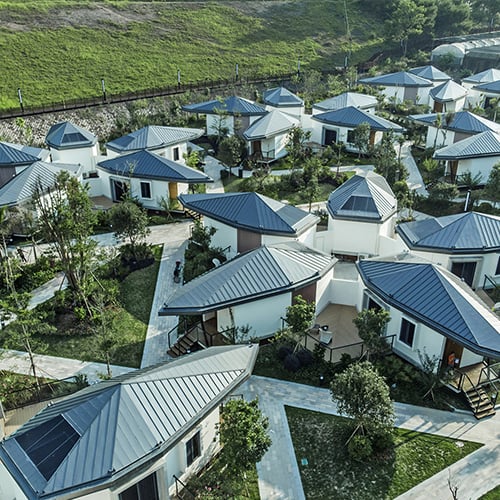
Setting up a garden office pod in your backyard works most smoothly when each phase is planned before the previous one starts. Get the site and access confirmed first. Choose a pod configuration based on actual daily work requirements. Sort utilities and insulation specifications before delivery. Verify local permit requirements early. Then design the interior for sustained professional use — not just aesthetics. ZYC offers modular container pod configurations suited to both residential backyard setups and multi-unit commercial installations. Request a quote based on your space dimensions and intended use, and allow adequate lead time for manufacturing and shipping.